0
0

 English
 中文简体
中文简体 عربى
عربىSales at home and abroad, foreign trade mainly exported to Europe, America, Southeast Asia and other countries.
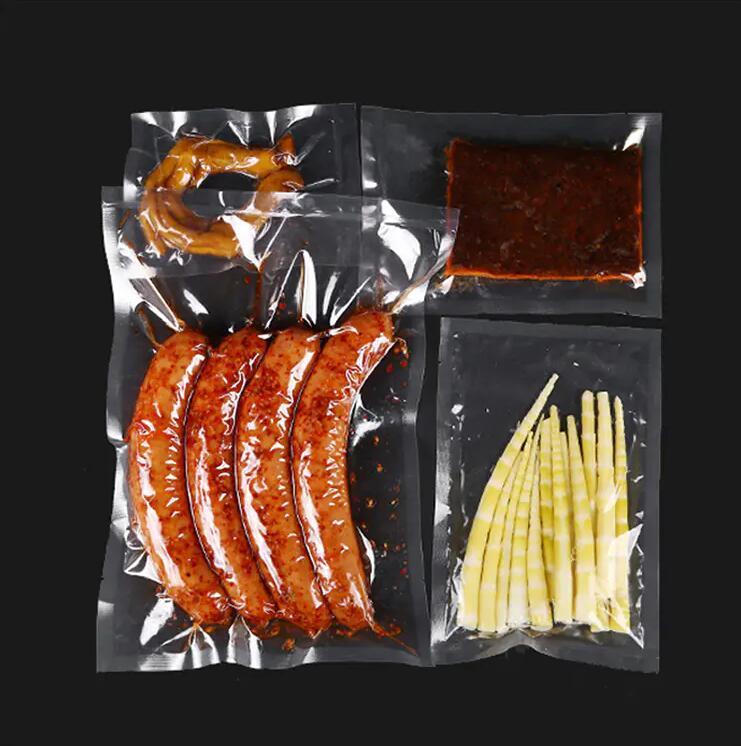
PE self-adhesive bags, also known as polyethylene self-sealing bags, are versatile packaging solutions commonly used for storing and protecting various items, from documents and clothing to food and small products. These bags are made from polyethylene, a durable and flexible plastic material.
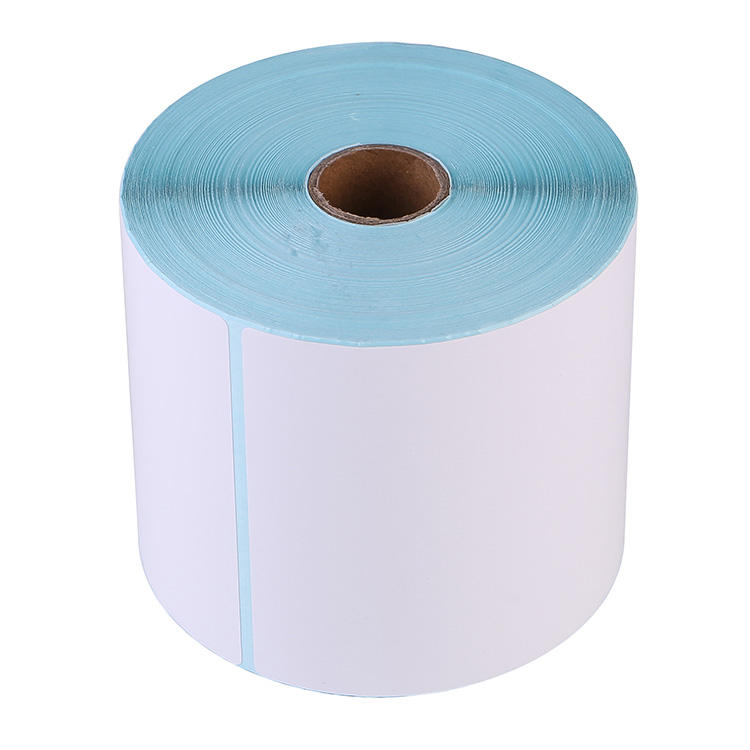
Polyethylene Film: Choose a roll of polyethylene film in the desired thickness and size for your bags. Polyethylene film is available in various gauges, so select one that suits your specific application.
Heat-Sealing Machine: You'll need a heat-sealing machine, often referred to as a heat sealer or bag sealer, to create a secure and airtight seal on the bags. Heat sealers are available in different sizes, so choose one that accommodates the width of your polyethylene film.
Polyethylene Film Roll Holder (Optional): If you're working with a large roll of polyethylene film, a roll holder can help you manage and dispense the material more easily.
Start by unrolling the polyethylene film to the desired length for your bags. You can use a ruler and a sharp utility knife or scissors to cut the film. Ensure that the cuts are straight and even, as this will affect the appearance and functionality of your bags.
After cutting the film, fold it in half lengthwise. This will create a double layer of polyethylene film with an open edge and a folded edge.
If you plan to store specific items in your self-adhesive bags, now is the time to place them inside the folded film. Ensure that the items are centered and aligned with the folded edge, leaving a small margin along the open edge for sealing.
Bring the open edge of the folded film to the heat-sealing machine. Position it on the sealing platform, ensuring that the items are well-aligned. Activate the heat sealer according to its operating instructions. The machine will apply heat and pressure to create a secure seal along the open edge. The resulting seal should run the entire length of the bag.
After sealing the open edge, you may have excess polyethylene film. Use your utility knife or scissors to trim any excess material, creating a clean and even edge. Be careful not to cut too close to the seal to avoid compromising the bag's integrity.
With one edge sealed and excess material trimmed, you should have an open-ended bag. Next, seal both side edges to close the bag. Position each side edge on the heat-sealing machine's platform, activate the sealer, and create secure seals on both sides. These seals should run from the folded edge to the open end, effectively closing the bag.
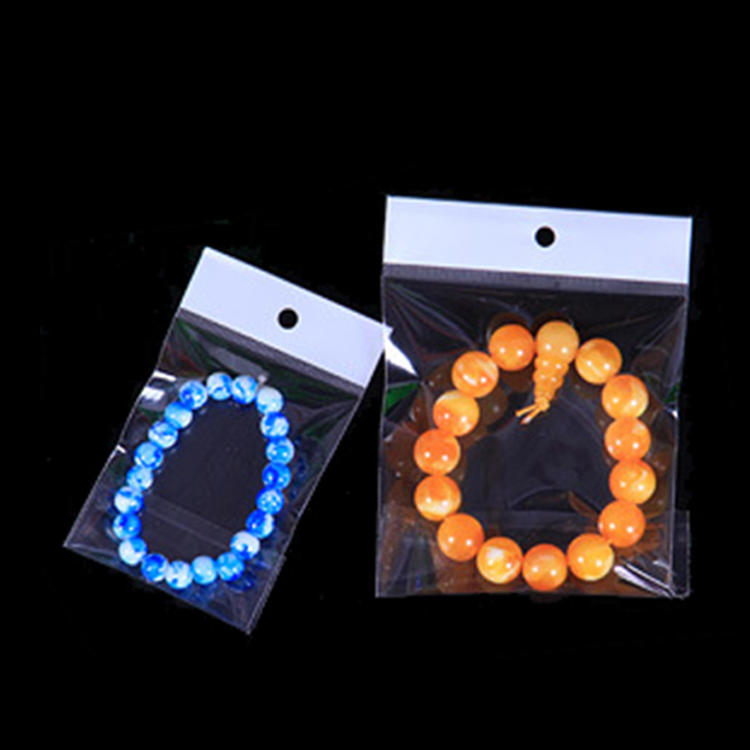
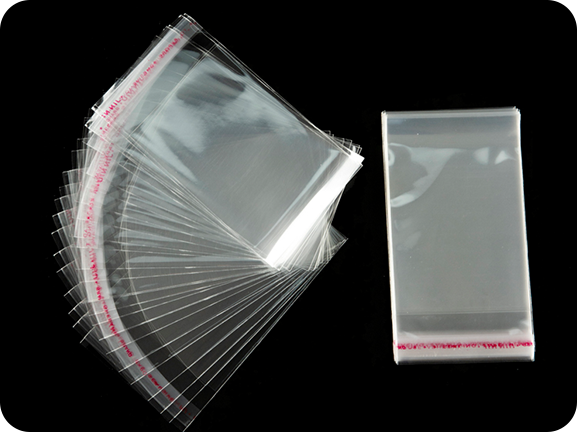
Many self-adhesive bags feature an adhesive strip on the folded edge to facilitate easy sealing and resealing of the bag. Test the adhesive strip to ensure it functions properly. If the strip is covered by a protective film, remove it to expose the adhesive.
To use the PE self-adhesive bag, simply unfold it, insert the desired items, and fold the flap with the adhesive strip to seal the bag. The adhesive strip will securely close the bag, and you can reseal it as needed.
If you want to customize your bags with labels, branding, or other information, you can use adhesive labels or print directly on the bag using a suitable printer.
Your PE self-adhesive bags are now ready to use. Store them in a cool, dry place to ensure they remain in good condition. These bags are versatile and can be used for various purposes, including storing food, organizing small items, protecting documents, and more.